Single Sign On | SAML vs OAuth

If you have ever been confused by Jargons such as Single Sign On(SSO), Federated Identity, OAuth, SAML, etc. this article is rightfully for you. This article focuses primarily on the difference between SAML and OAuth and how they gear the Single Sign On and Federated Identities all over the Internet.
Single Sign On allows us to Sign in once and use the same identity over multiple services or applications under the same Service Provider. For example: Logging in to Google once and being able to access Google Drive, Gmail, etc is called Single Sign On.

This allows convenience to the User who has to login only once and can use all the services Required.
This also helps the Service Provider who now does not have to create authentication mechanisms for each and every service they host and instead focus that strength on improving their services.
The seamless authentication through all services has an added benefit. For example: Discounts on a Service for the users of another service is made possible via SSO.
SAML and OAuth

SAML and OAuth are the technologies behind SSO. They facilitate the seamless distribution of authentication and authorization details through various Services.
Authentication means Identification of a User as a genuine user of our Services. This is generally handled by SAML.
Authorization means allowing certain Privileges to an Identified User. This is handled by OAuth.
SAML
Authentication | Identity
- Security Assertion Markup Language
- SAML is used to login a user to a Service Provider network.
- It uses XML based tokens to pass login credentials between Client, Service Provider, and Identity Provider.
- SAML Versions: SAML 1.0 — SAML 1.1 — SAML 2.0
SAML 2.0 is not backwards compatible with SAML 1.1. SAML 2.0 is widely recognized as SAML and used.
SAML Process:

1. End User clicks on “Login” or “Sign in” Button on www.example.com.
www.example.com is the Service Provider/Resource Server
End User is the Client
Authentication Backend(www.example.com/login) of www.example.com is the Identity Provider.
2. The Service Provider Generates an Authentication Request, Signs the Request, encrypts it
3. Sends Authentication Request to Identity Provider on Backend via HTTP Post.
4. Identity Provider validates the Authentication Request. Redirects Client to Login Page with Login form.
5. Client logs in with their Credentials.
6. IdP generates a SAML Token as the Client’s identity. Sends token to Service Provider.
7. Client is logged in to the Service Provider and Redirected to Service.
OAuth
Authorization | Privilege
It isn’t convenient to keep logging in for every Service on the website.
For example, if you added a few items to your cart on an e-commerce site, you don’t want to login again to just access the cart.
In earlier times, when Authentication and Authorization were treated as one, this could have very well been the case.
Recent times, however, have separated Authentication and Authorization, thus allowing the Identity to flow seamlessly and Authorization to be granted on-the-fly.
OAuth is the technology that handles this “On-the-Fly” Authorization.
When we say Identity flows seamlessly from one Service to another, it might be questioned that this could put the identity at risk of being Sniffed.
This is worked around by passing a Token instead of the actual Credentials from Service to Service.
OAuth uses JWT tokens primarily but may also use JSON tokens or SAML Tokens (Token received from SAML Login).
OAuth Process:

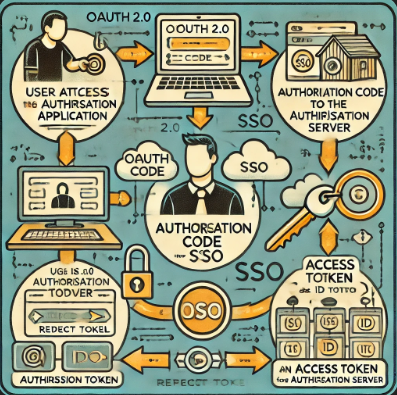
1. Client tries to access a Resource and requests Authorization.
In the example earlier:
We are the Client | www.ecommerce.site/cart is the Resource | The Authentication Backend is the Authorization Server or Identity Provider.
2. The Resource server sends us a Grant to “Receive Authorization” from Authorization Server.
3. Client requests the Authorization server for “Access Token” by trading with “Receive Authorization” Grant.
4. Here is where there is a Login Check. If you have not logged in yet, the Authorization Server may redirect you towards SAML for Login.
5. When Logged in, Access Token is Sent to Client.
6. Client sends Access Token to Resource Server.
7. Resource Server sends Token to Authorization Server for Validation.
8. Authorization Server Validates the Token and sends Identity and Access Attributes to Resource Server.
9. If Access Attributes confirm that User can access the Resource, Resource Server provides Access to Client.


